Top #1 WordPress Theme & Plugin GPL Store
Elementor Pro, ACF, Rank Math Pro, Flatsome, All-in-One WP Migration, Updraftplus, Wordfence,
FiboSearch Pro, Polylang Pro, Yoast SEO Premium
(If you can't find the product, please message us.)
View moreElementor Pro, ACF, Rank Math Pro, Flatsome, All-in-One WP Migration, Updraftplus, Wordfence,
FiboSearch Pro, Polylang Pro, Yoast SEO Premium
(If you can't find the product, please message us.)
View moreInstant update
Unlimited downloads, never expires
Does not contain malicious code
No waiting
More than 5,000 customers
Credit card allowed
When downloading and installing
Description
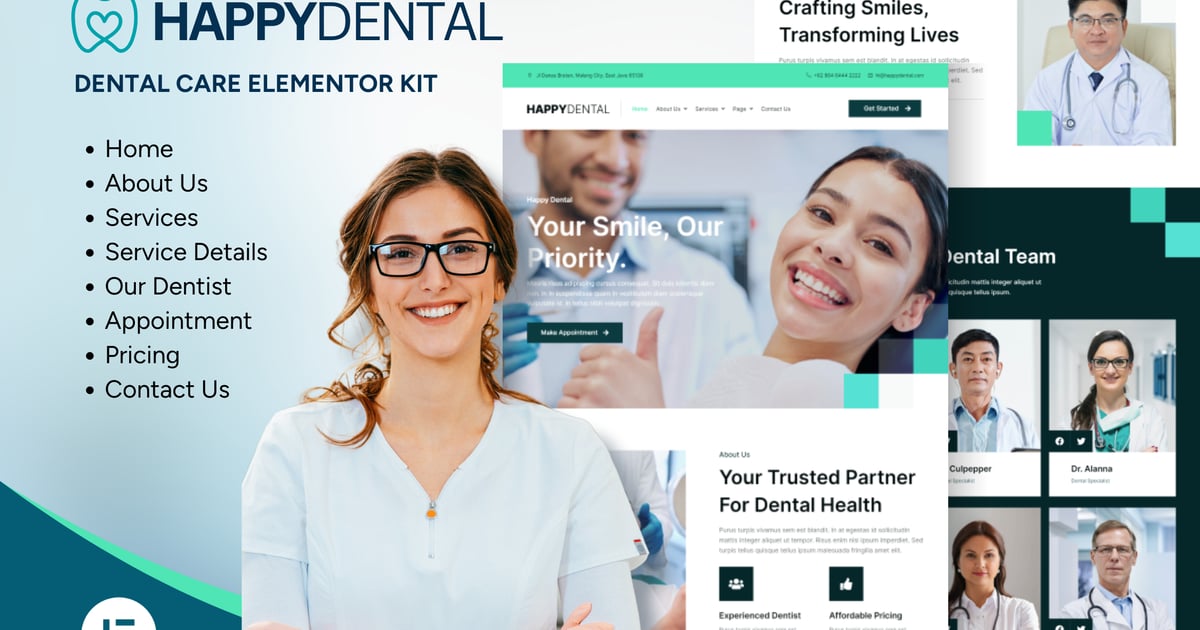
Happy Dental is an Elementor Template Kit designed for dentists, clinics, and dental labs, this kit offers an effortless way to create a professional website using WordPress and Elementor. It offers pre-designed templates for specific sections of your website, allowing you to mix and match, and customize each part as you see fit. This flexibility and ease of use make it an excellent choice for those who want a unique and visually appealing website without the complexity of traditional themes.
With our Elementor Kit, you can easily customize each page to match your clinic’s branding and services. Whether you need to showcase your team of dentists, list your services, or provide pricing information, it’s all at your fingertips.
Pages Included:
How to Use Template Kits:
If you have Elementor Pro, headers and footers are customized under Templates > Theme Builder.
Detailed Guide: https://help.market.envato.com/hc/en-us/articles/900000842846-How-to-use-the-Envato-Elements-WordPress-Plugin-v2-0
For further support, go to Elementor > Get Help in WordPress menu.
How to Setup Forms
If you have Elementor Pro, skip install of form plugin and form blocks.
Setup Global Header and Footer in Header Footer & Blocks plugin
If you have Elementor Pro, headers and footers may be customized under Theme Builder.
Once purchased, you can download the file from the “Downloads” tab that appears next to it, or at the Account -> Downloads page .
Before purchasing the product, please read the terms of use carefully at the page: Privacy Policy
All products and products are free to update within 1 year from the date of purchase. However, for customers who purchase a VIP membership package, it will be updated for the duration of the membership package.
If you have any questions, please read the FAQ section at the following link: FAQs
If you cannot find the answer to your question, please contact us via email [email protected] , or online support system.
Each product you can use for unlimited websites.
* Note: Do not use IDM to download products, because IDM will send a lot of requests to the server causing confusion, causing you to run out of downloads within a day with Membership
Elements Envato

Elements Envato

Elements Envato
Elements Envato

Elements Envato
Elements Envato

Elements Envato

Elements Envato
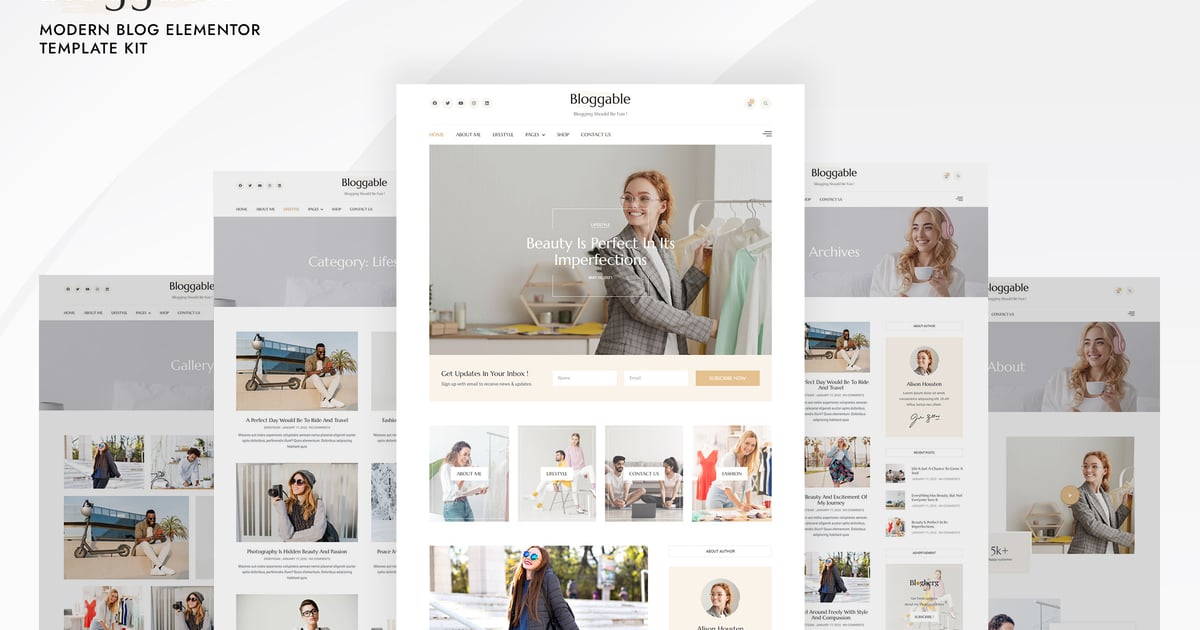 Bloggable - Modern Blog Elementor Template Kit
$4.99
Bloggable - Modern Blog Elementor Template Kit
$4.99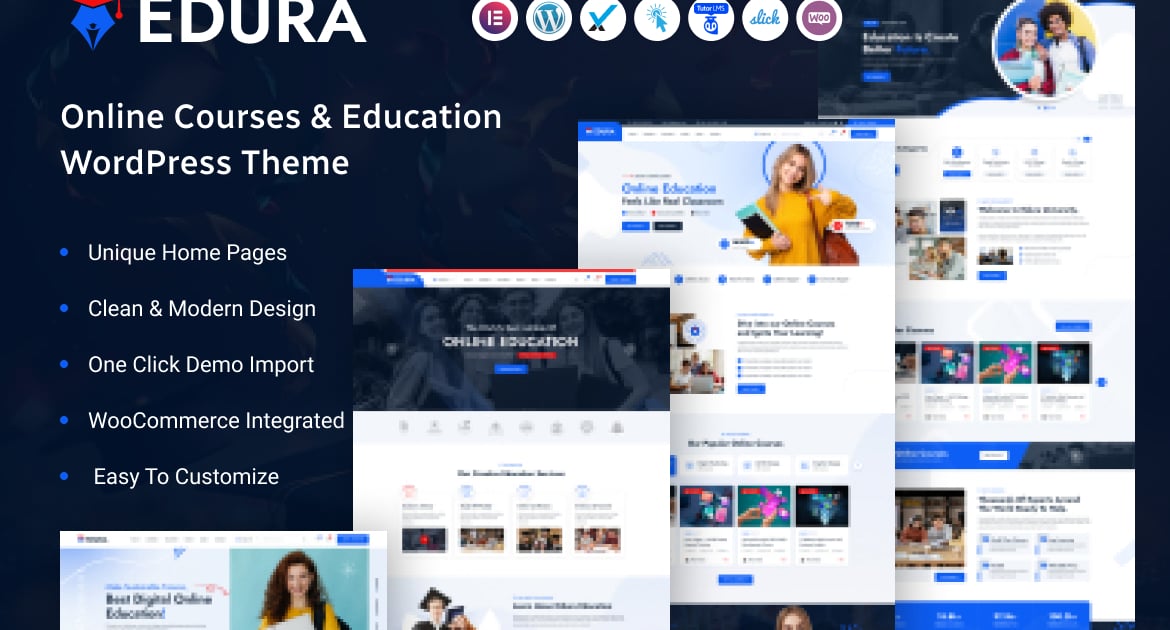 Edura – Online Courses & Education WordPress Theme
$4.99
Edura – Online Courses & Education WordPress Theme
$4.99 SaasPlate - Landing Page WordPress Theme
$4.99
SaasPlate - Landing Page WordPress Theme
$4.99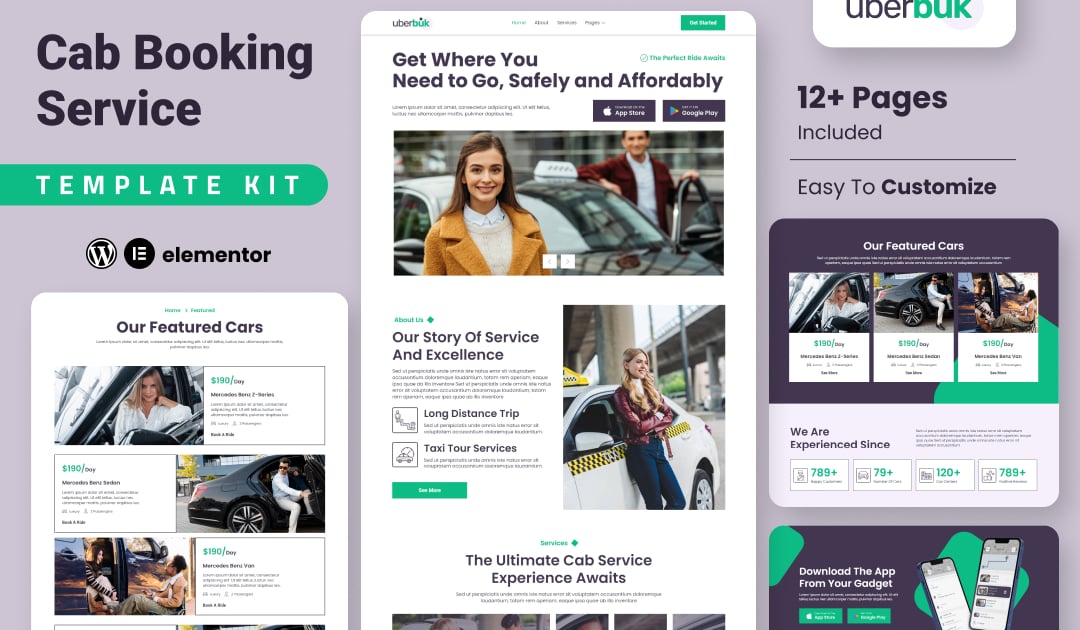 Uberbuk – Taxi Company & Online Cab Service Elementor Template Kit
$4.99
Uberbuk – Taxi Company & Online Cab Service Elementor Template Kit
$4.99 Zynex - Digital Marketing Agency Elementor Template Kit
$4.99
Zynex - Digital Marketing Agency Elementor Template Kit
$4.99 WP All Import Pro
$4.99
WP All Import Pro
$4.99 Elementor Pro - #1 WordPress Page Builder Plugin
$4.99
Elementor Pro - #1 WordPress Page Builder Plugin
$4.99 Basic Membership
$4.90
Basic Membership
$4.90 WPML Multilingual CMS WordPress Plugin
$4.99
WPML Multilingual CMS WordPress Plugin
$4.99 Rank Math Pro [Agency] - Top #1 WordPress SEO Plugin
$4.99
Rank Math Pro [Agency] - Top #1 WordPress SEO Plugin
$4.99